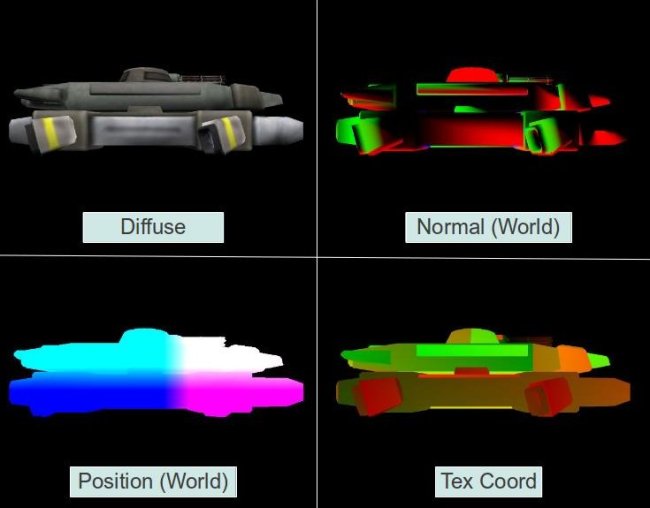
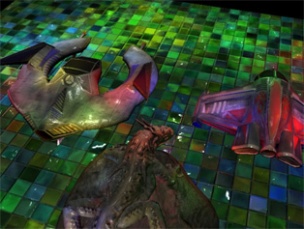
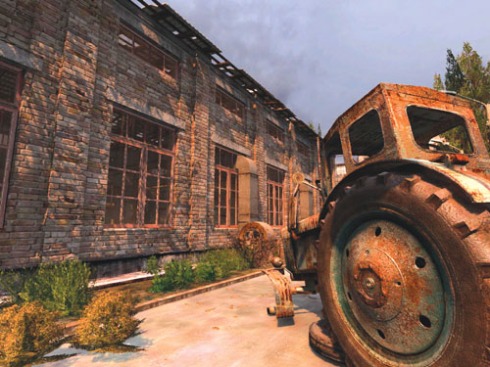
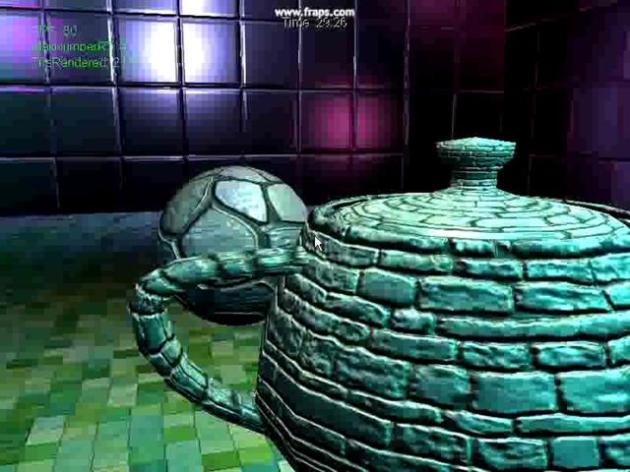
Deferred rendering is an alternative to rendering 3d scenes. The classic rendering approach involves rendering each object and applying lighting passes to it. So, if an object is affected by 6 lights, it will be rendered 6 times, once for each light, in order to accumulate the effect of each light. This approach is referred forward rendering. Deferred rendering takes another approach: first of all of the objects render their lighting related information to a texture, called the G-Buffer.
This includes their colours, normals, depths and any other info that might be relevant to calculating their final colour. Afterwards, the lights in the scene are rendered as geometry (sphere for point light, cone for spotlight and full screen quad for directional light), and they use the G-buffer to calculate the colour contribution of that light to that pixel.
The motive for using deferred rendering is mainly performance related – instead of having a worst case batch count of objects by the amount of lights (if all objects are affected by all lights), you have a fixed cost of objects and lights. There are other pros and cons of the system, but the purpose of this article is not to help decide whether deferred rendering should be used, but how to do it if selected.
The main issue with implementing deferred rendering is that you have to do everything on your own. The regular rendering approach involves rendering each object directly to the output buffer (called ‘forward rendering’). This means that all of the transform & lighting calculations for a single object happen in a single stage of the process. The graphics API that you are working with exposes many options for rendering objects with lights. This is often called the ‘fixed function pipeline’, where you have API calls that control the fashion in which an object is rendered. Since we are splitting up the rendering to two parts, we can’t use these faculties at all, and have to re-implement the basic (and advanced) lighting models ourselves in shaders.
Even shaders written for the forward pipeline won’t be usable, since we use an intermediate layer (the G-Buffer). They will also need to be modified to write to the G-Buffer / read from the G-buffer (usually the first). In addition to that, the architecture of the rendering pipeline changes – objects are rendered regardless of lights, and then geometric representations of the light’s affected area have to be rendered, lighting the scene.
The Goal is to create a deferred rendering pipeline that is as unobtrusive as possible – we do not want the users of the engine to have to use it differently because of the way that its rendered, and we really don’t want the artists to change the way they work just because we use a deferred renderer. So, we want an engine that can:
The material system that stores all of the information that is required to render a single object type besides the geometry. Links to textures, alpha settings, shaders etc. are stored in an object’s material. The common material hierarchy includes two levels:
Technique – When an object will be rendered, it will use exactly one of the techniques specified in the material. Multiple techniques exist to handle different hardware specs (If the hardware has shader support use technique A, if not fall back to technique B), different levels of detail (If object is close to camera use technique ‘High’, otherwise use ‘Low’). In our case, we will create a new technique for objects that will get rendered into the G-buffer.
Pass – An actual render call. A technique is usually not more than a collection of passes. When an object is rendered with a technique, all of its passes are rendered. This is the scope at which the rendering related information is actually stored. Common objects have one pass, but more sophisticated objects (for example detail layers on the terrain or graffiti on top of the object) can have more.
Examples of material systems outside of Ogre are Nvidia’s CGFX and Microsoft’s HLSL FX. Render Queues / Ordering System: When a scene full of objects is about to be rendered, all engines need some control over render order since semi-transparent objects have to be rendered after the opaque ones in order to get the right output. Most engines will give you some control over this, as choosing the correct order can have visual and performance implications:
less overdraw = less pixel shader stress = better performance,
Full Scene / Post Processing Framework: This is probably the most sophisticated and least common of the three, but is still common. Some rendering effects, such as blur and ambient occlusion, require the entire scene to be rendered differently. We need the framework to support directives such as “Render a part of the scene to a texture”, “Render a full screen quad”, allowing us to control the rendering process from a high perspective.
Generating the G-Buffer:
So we know what we want to do, we can now start creating a deferred rendering framework on top of the engine. The problem of deferred rendering can be split up into two problems – creating the G-Buffer and lighting the scene using the G-Buffer. We will tackle both of them individually.
Deciding on a Texture Format:
The first stage of the deferred rendering process is filling up a texture with intermediate data that allows us to light the scene later. So, the first question is, what data do we want? This is an important question – it is the anchor that ties both stages together, so they both have to synchronized with it. The choice has performance (memory requirements), visual quality (accuracy) and flexibility (what doesn’t get into the G-Buffer is lost forever) implications.
We chose two RGBA textures, essentially giving us eight 16 bit floating point data members. It’s possible to use integer formats as well. The first one will contain the colour in RGB, specular intensity in A. The second one will contain the view-space-normal in RGB (we keep all 3 coordinates) and the (linear) depth in A.
